
Last updated October 30, 2026
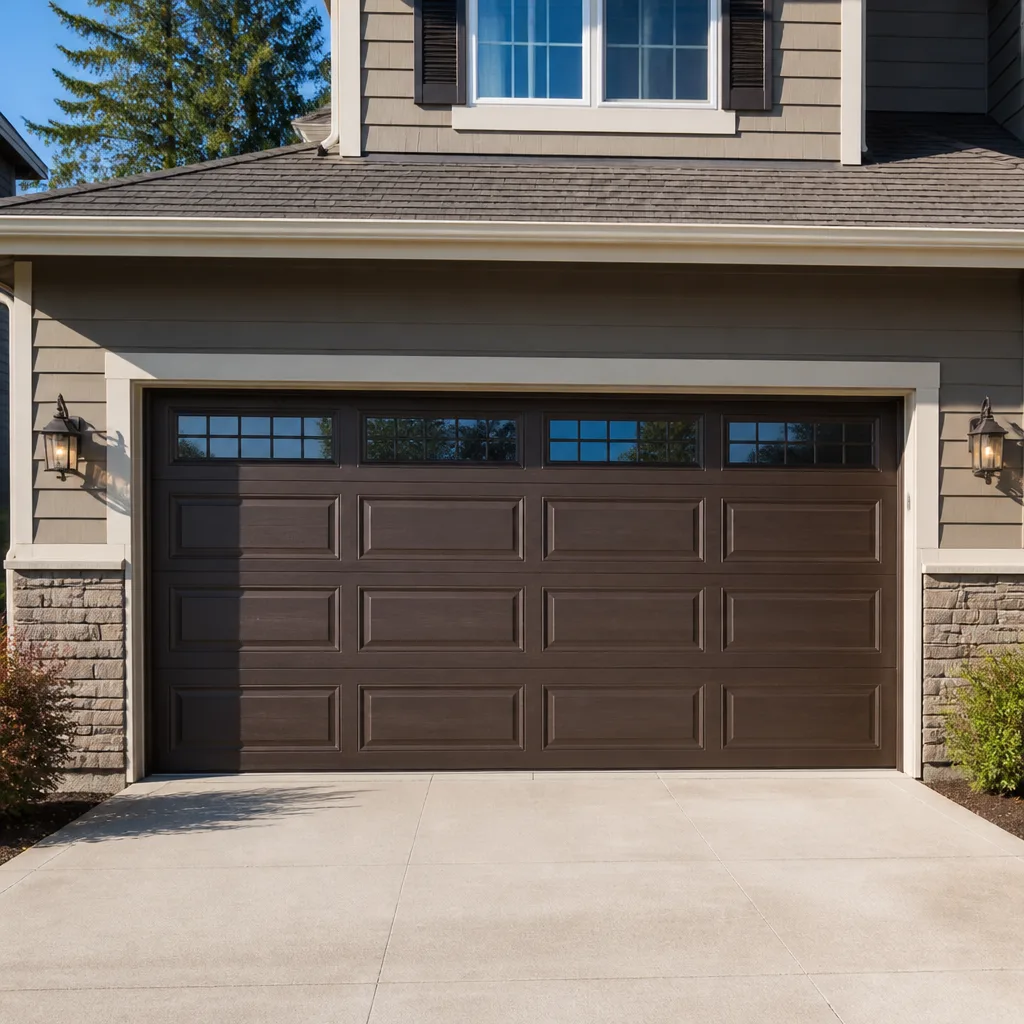 Raised-panel steel
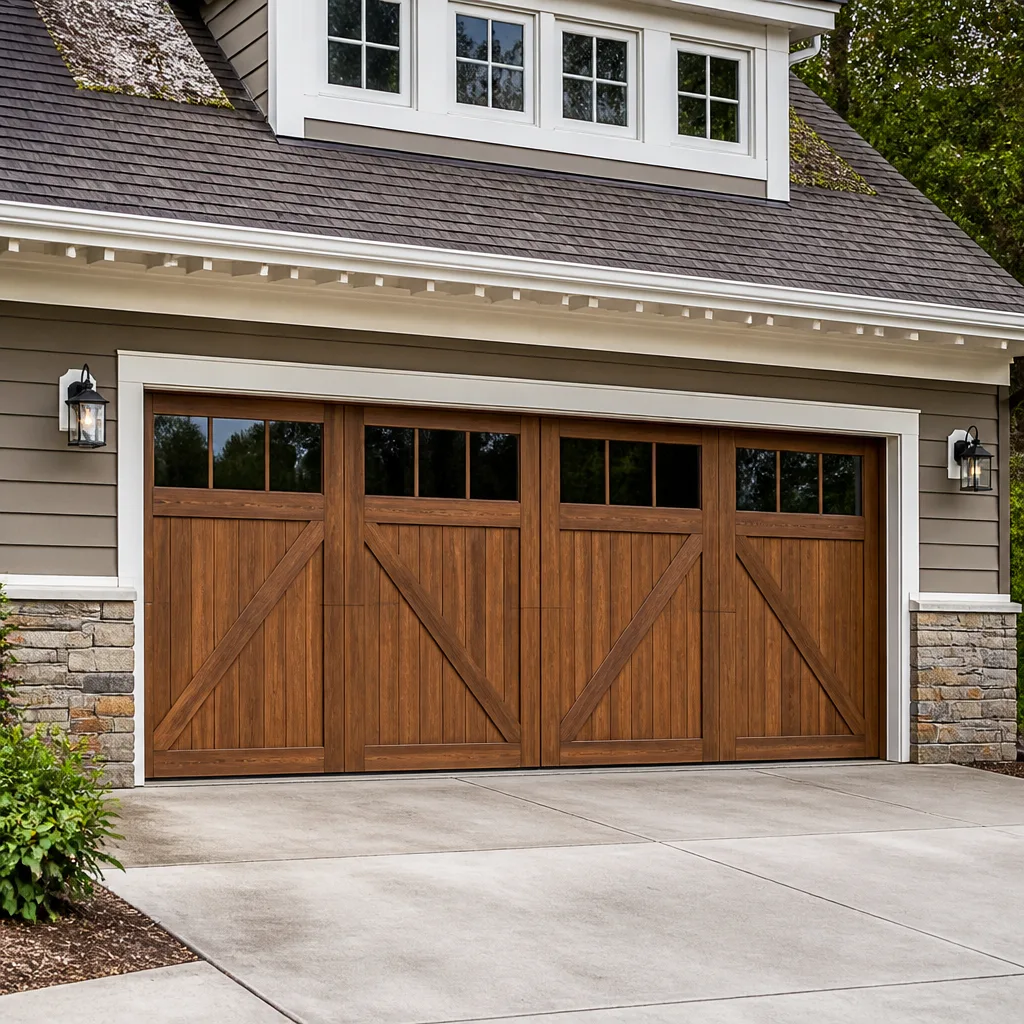 Carriage house
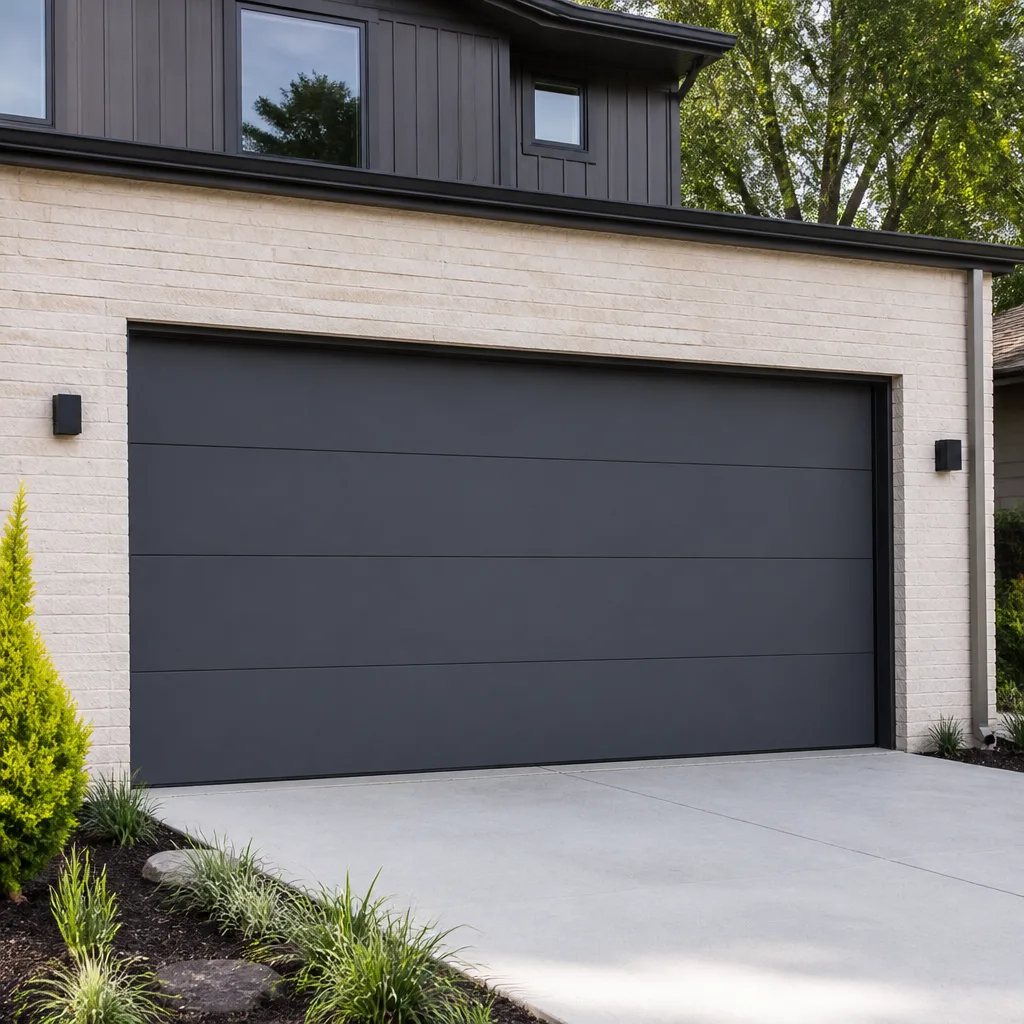 Modern flush
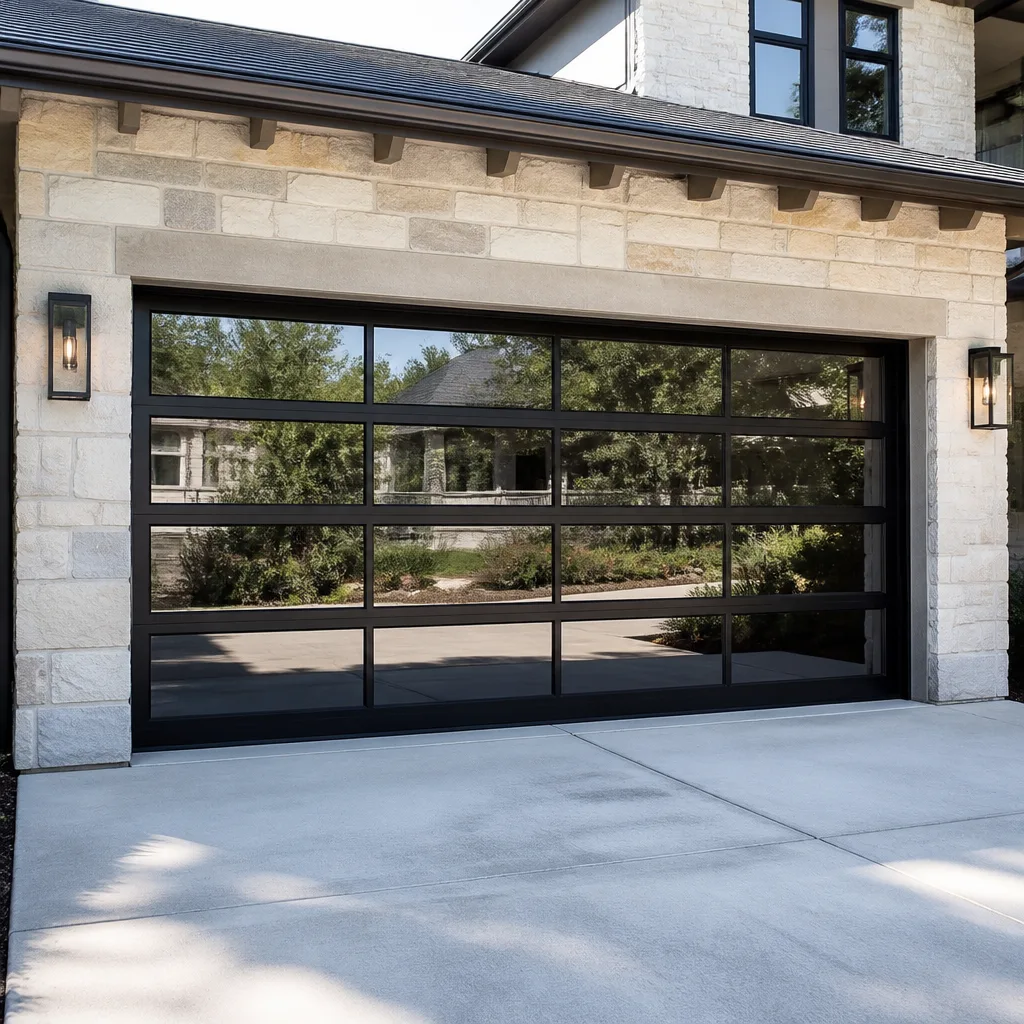 Full-view glass
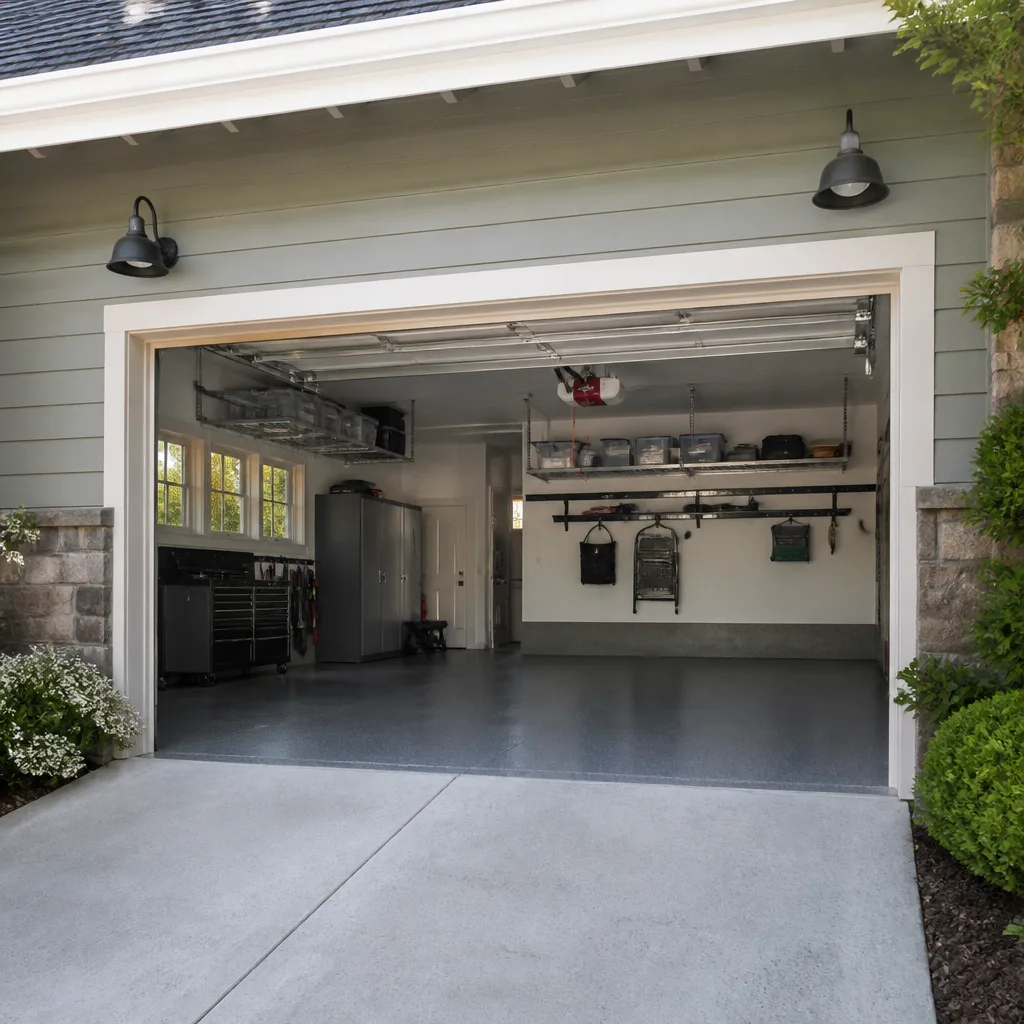 LiftMaster openers
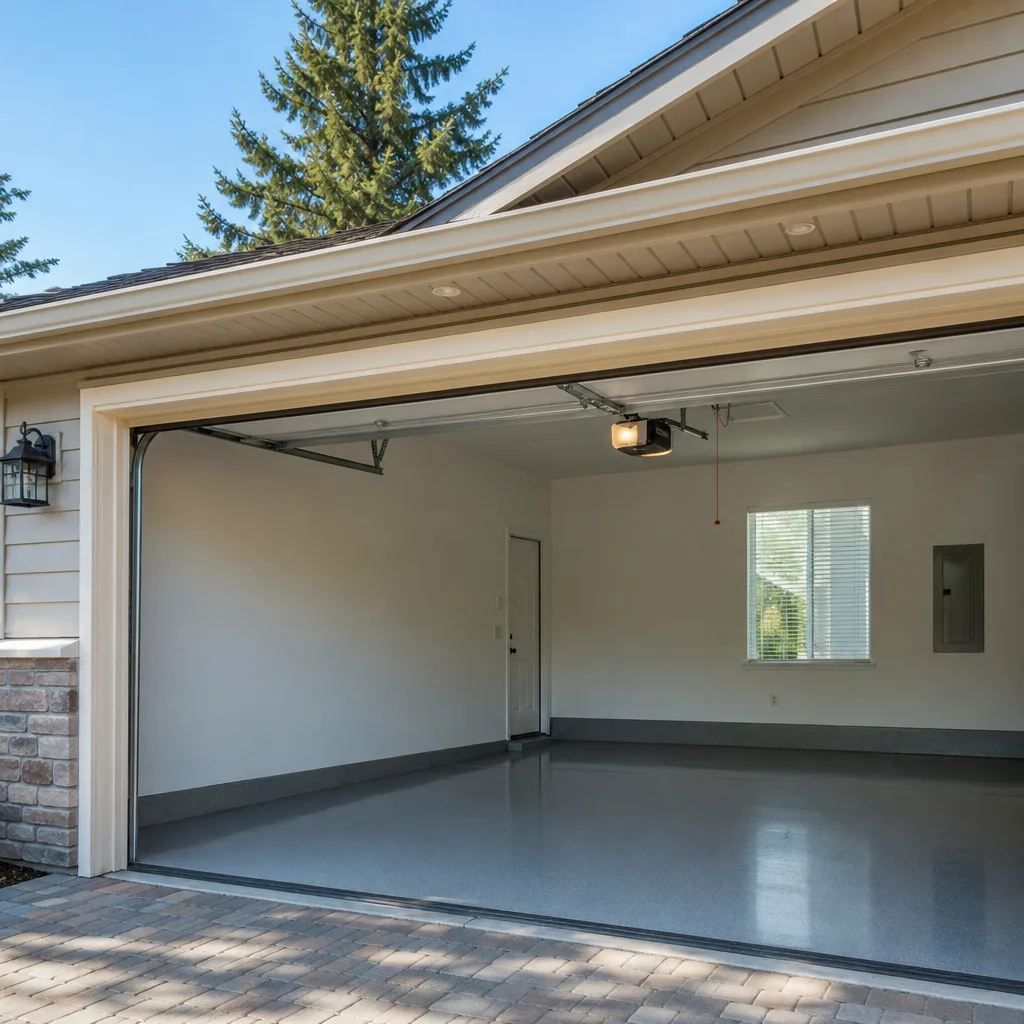 Chamberlain openers
Full 25-point door and opener safety check with every visit - springs, cables, rollers, tracks, and your LiftMaster or Chamberlain opener included
You get a price before we start. It does not change when the truck arrives.
Get your free estimateGarage Door Repair Troubleshooting in Roseville: Common Problems and How to Fix Them
Here’s a number most Roseville homeowners don’t expect: the average garage door cycles open and closed roughly 1,500 times a year. Every one of those cycles wears on springs, rollers, hinges, and the opener’s drive system. By the time a door starts acting up, the failure has usually been building for months. The problem is that most troubleshooting advice starts with the component, not the symptom. You’re told to “check the sensors” or “inspect the springs” without any framework for connecting what you’re hearing and seeing to what’s actually broken. This guide works backward from what you notice: the sound, the movement, the blinking light on the opener. By the end, you’ll know whether you’re dealing with a five-minute fix or a job that needs a technician who already knows your system.
Quick Answer
Most garage door failures trace back to one of five components: the photo-eye sensors, the opener’s travel limits, the springs, the drive system, or the logic board. Start by reading the blinking error code on your opener (Genie, Chamberlain, and LiftMaster all use distinct flash patterns), then run the manual disconnect test to isolate whether the problem is in the door hardware or the opener itself. If the door moves freely by hand but won’t move under power, it’s the opener. If it binds or feels heavy by hand, it’s the door.
Styles & brands we work with
- Raised-panel steel
- Carriage house
- Modern flush
- Full-view glass
- LiftMaster openers
- Chamberlain openers
Table of Contents
- Door Won’t Open at All
- Door Starts Closing Then Reverses Immediately
- Opener Runs But the Door Doesn’t Move
- Door Is Loud on One Side Only
- Intermittent Failures: Works Sometimes, Fails Others
- Reading Your Opener’s Blinking Error Codes
- The 30-Second Manual Disconnect Test
- Stop-Here Conditions: When Troubleshooting Becomes Dangerous
Door Won’t Open at All
When a garage door refuses to open, the cause falls into one of two camps: electrical or mechanical. The fastest way to distinguish between them is to listen. If you press the wall button or remote and hear nothing, no click, no hum, no movement, you’re almost certainly looking at an electrical issue: a tripped GFCI outlet, a blown fuse in the opener, a dead remote battery, or a disconnected power source. If you hear the opener motor straining but the door doesn’t budge, that’s mechanical. Something is physically preventing the door from moving.
Start with the simple electrical checks. Confirm the opener is plugged in and that the outlet has power (plug in a lamp or phone charger to verify). Check your breaker panel for a tripped circuit. Many Roseville homes have the garage on a shared circuit with outdoor outlets, and a tripped GFCI outside will kill power to the opener. Replace the remote battery if the wall button works but the remote doesn’t. On Chamberlain and LiftMaster openers, a solid green light on the motor unit means power is reaching the opener; no light at all means the outlet or the opener’s internal fuse is the problem.
If power is confirmed and the motor hums but the door stays put, you may have a broken spring. Torsion springs, the ones mounted horizontally above the closed door, typically last 7 to 10 years in the Sacramento Valley’s summer heat. When one snaps, the opener’s motor cannot lift the full weight of the door alone. You’ll sometimes see a visible gap in the spring coil, but not always; a door that’s suddenly too heavy to lift by hand is the telltale sign.
Key Takeaway: No sound means electrical. Humming without movement means mechanical, usually a spring. The manual disconnect test in the section below will confirm which one you’re dealing with in under a minute.
Door Starts Closing Then Reverses Immediately
This is the single most common symptom we hear about in Roseville, and nine times out of ten the culprit is the photo-eye safety sensor system. These are the two small units mounted on either side of the door track, about six inches off the ground. If anything interrupts the invisible infrared beam between them, or if the sensors drift out of alignment, the opener interprets it as an obstruction and reverses the door as a safety measure.
Here’s the step-by-step diagnosis:
- Check for physical obstructions between the two sensors: a broom, a rake, a cardboard box, even a thick cobweb can break the beam.
- Look at the sensor lights. Both units have small LED indicators. On most Genie, Chamberlain, and LiftMaster models, both lights should be solid, not blinking. A blinking light on one side means that unit is either misaligned or receiving a weak signal.
- Gently nudge the sensor housings until both lights go solid. This usually just takes a light fingertip adjustment. Over time, vibration from the door’s daily cycles, the occasional bump from a car bumper or a teenager’s bike handlebar, knocks them out of position.
- Check the wiring running from each sensor to the opener. Exposed low-voltage wires can get chewed by rodents or nicked by yard equipment. Look for obvious breaks or fraying.
If both sensor lights are solid and the door still reverses, the next suspect is the opener’s travel limit settings. On older LiftMaster and Chamberlain units, these are adjusted with small dials or screws on the motor housing. If the down-limit is set too far, the door hits the ground and the opener reads the resistance as an obstruction, reversing the door. On newer models with digital displays, you can adjust the limit through the programming menu. For Genie openers, the travel limits are accessed through the UP/DOWN buttons on the motor head.
In our experience, a door that reverses only at night or only in certain weather often has a sensor problem that’s aggravated by indirect sunlight hitting one of the photo-eyes. A simple cardboard shade tube around the sensor fixes this without any new parts.
If aligning the sensors and adjusting the travel limits doesn’t solve it, and especially if the door reverses with a grinding or scraping sound, the issue may be in the door’s balance or track alignment. That’s where it stops being a homeowner fix. Wright Garage Door Repair services both the door mechanics and the opener drive system, so a single call covers the full diagnosis. We work on LiftMaster, Chamberlain, Genie, Clopay, Amarr, Wayne Dalton, Craftsman, and Raynor equipment, which means we’re already familiar with the specific quirks of whatever system is on your house. Call garage door repair in Roseville to schedule a service visit, and we’ll identify the exact failing component before replacing anything.
Opener Runs But the Door Doesn’t Move
You press the button, the opener motor whirs or hums, but the door sits exactly where it is. This is a classic drive-system failure, and it’s one of the most misunderstood symptoms in garage door troubleshooting. The door itself is usually fine. What’s failed is the connection between the opener motor and the door.
There are three common causes:
- The emergency release cord has been pulled. This is the red cord hanging from the trolley. If someone pulled it to disengage the door from the drive system, usually during a power outage, the opener will run freely without connecting to the door. The fix is to run the opener through a full cycle, which re-engages the trolley automatically on most modern Chamberlain and LiftMaster models, or to manually re-latch the trolley on older units.
- The drive gear has stripped. On chain-drive and screw-drive openers, a nylon or plastic drive gear inside the motor housing eventually wears out. When it strips, the motor spins but the chain or screw doesn’t move. You’ll often hear the motor running smoothly without the normal accompanying rattle of the chain. This is a replacement job for an opener technician, not a DIY adjustment.
- The chain or belt has broken or jumped the sprocket. On belt-drive openers, a broken belt is visible and obvious. On chain-drive units, the chain can sometimes jump off the sprocket on the motor shaft without breaking. If the chain is hanging loose, that’s your problem.
Run the manual disconnect test before calling anyone. Pull the emergency release cord and try lifting the door by hand. A properly balanced door should lift to waist height with moderate effort and stay there. If the door feels heavy or wants to slam shut, you have a spring issue in addition to whatever is happening with the opener. If it moves easily and smoothly, the door hardware is fine and the opener’s drive system is the sole problem.
This distinction matters because it determines what kind of technician you need. A generalist handyman is going to guess. A door specialist only deals with half the equation. Wright Garage Door Repair covers both sides. Garage door opener repair in Roseville means we diagnose the motor, the drive system, and the door hardware in the same visit, so you never have to coordinate two vendors or wait for two appointments to get one working door.
Door Is Loud on One Side Only
A garage door that grinds, squeals, or scrapes on one side but runs quietly on the other is sending a very specific signal: the problem is in the hardware on that side of the door, not in the opener or the springs. The symmetry of the symptom tells you almost everything you need to know. Both sides of the door run through identical components: a track, a set of rollers, and a set of hinges. If the sound is coming from only the left or only the right, the failure is isolated to that side’s components.
What you’re most likely hearing:
- A roller that’s seized or worn flat-sided. Nylon rollers wear down over years of use, and once the bearing inside seizes, the roller drags along the track instead of spinning. The sound is a grinding or scraping that rises and falls with the door’s movement.
- A hinge that’s loose or cracked. Hinges connect the door panels and carry significant load as the door rounds the curved section of track. A worn hinge plate creates a clicking or popping sound as the panel flexes against it.
- Track misalignment. If one track has shifted slightly, usually from a bump or seasonal foundation movement that’s common in Roseville’s clay-heavy soil, the rollers bind at a specific point in the travel. This often presents as a door that’s smooth for most of its travel but scrapes or jerks at the same spot every time.
- Worn bearings in the roller bracket. The shafts on which the rollers spin can wear out of round, creating a wobble that manifests as sound on one side only.
You can sometimes quiet a squealing roller temporarily with a small amount of silicone spray on the roller bearings. Do not use WD-40, which is a solvent and will break down the grease inside the bearing, making the problem worse over time. Do not lubricate the track itself; the rollers roll on the track and lubricant there just attracts dust and grime.
If lubrication doesn’t eliminate the sound within a day, or if the sound is a grind rather than a squeal, the component needs replacement. Rollers and hinges are wear items on every garage door, and replacing them before they fail completely prevents the kind of sudden track-bind that can bend the track or pull the door out of alignment. Wright Garage Door Repair handles these replacement parts across all major door brands including Clopay, Amarr, and Wayne Dalton, and we stock common roller sizes on the truck. For Roseville homeowners, that means most roller and hinge failures get resolved in a single visit. Call Wright Garage Door Repair at (855) 362-1465 and describe the sound, and we’ll know which parts to bring.
Intermittent Failures: Works Sometimes, Fails Others
The hardest problems to diagnose are the ones that don’t happen every time. Your door works perfectly for three days, then refuses to close one evening. You come back from the grocery store and the remote does nothing, but the wall button works fine. You reset the opener and everything’s fine for another two weeks. These intermittent failures frustrate homeowners because they seem random. They’re not. Intermittent behavior is a symptom with its own diagnostic logic.
In our experience across Roseville’s neighborhoods, from Folsom Road to Westpark, intermittent failures almost always trace back to one of two systems: the safety sensors or the logic board. Springs, cables, and fasteners don’t fail intermittently. Metal fatigue and hardware wear are one-way streets. Once a spring breaks, it stays broken. Once a cable frays, it doesn’t re-weave itself. So if your door works sometimes and fails others, you can be confident the problem is electrical or electronic, not structural.
Sensor-related intermittent failures usually follow a pattern tied to light conditions or temperature. If the door consistently fails in the late afternoon when direct sun hits one of the photo-eyes, that’s sun interference. If it fails on cold mornings but works fine once the garage warms up, condensation or slight contraction of the mounting brackets is pushing the sensors just barely out of alignment. Both conditions hover right at the edge of what the opener’s safety system will tolerate, which is why the failure comes and goes.
Logic board failures present differently. You’ll often see the opener respond inconsistently to commands, work from the remote but not the wall button, or show an error code that clears when you unplug the unit for 30 seconds. The board itself, which is basically the opener’s computer, eventually develops component failures from years of heat and voltage fluctuations. Sacramento Valley summers are hard on electronics in unconditioned garages, where daytime temperatures routinely exceed 100 degrees.
Here’s the practical roadmap for intermittent failures:
- Note the conditions when the failure occurs. Time of day, temperature, which control device you used, and which direction the door was traveling. Write it down. The pattern is diagnostic.
- If failures cluster around specific lighting conditions, address the sensors first. Clean the lenses, check alignment, and add shade tubes if direct sun is a factor.
- If failures cluster around specific control devices (remote works, wall button doesn’t, or vice versa), the problem is either that device or the opener’s receiver board.
- If failures are truly random, no pattern at all, you’re most likely looking at a logic board failure on an older opener.
Logic board replacement on an opener that’s more than 12 years old is rarely worth the cost. You’re paying to keep a worn-out motor alive. In that situation, garage door installation in Roseville for a new opener, often paired with a new door if the existing one is original to the house, is the better long-term investment. Wright handles both, and we’ll give you an honest read on whether your old opener is worth repairing or whether replacement is the smarter financial decision. The price is quoted and agreed before any work starts, so you’ll know the full cost before we begin.
Reading Your Opener’s Blinking Error Codes
Your opener has been trying to tell you what’s wrong this whole time. Every modern Chamberlain, LiftMaster, and Genie opener uses a pattern of blinking lights on the motor unit, or a sequence of flashes from the wall control, to report diagnostic codes. Reading these codes before you touch anything eliminates a lot of guesswork. Here’s what the most common codes mean across the three big brands in Roseville garages.
Chamberlain and LiftMaster (sister brands under the same parent company, sharing electronics platforms):
- 1 flash: The safety sensors are misaligned or the wiring to them is faulty. This matches the “door reverses immediately” symptom.
- 2 flashes: One of the sensors is blocked or the beam is interrupted. Different from misalignment in that something is physically in the beam’s path.
- 3 flashes: The door control or wall button is wired incorrectly, or there’s a short in the wall control wiring.
- 4 flashes: The safety sensors are slightly misaligned, just enough to break the beam, which matches the intermittent failure pattern.
- 5 flashes: The motor is overheating. This often happens when the opener runs too frequently, typically during a season when you’re in and out of the garage constantly, or when a heavy door is overtaxing the motor.
Genie openers use a different coding system, usually a pattern of red and green lights or a sequence of flashes from the round LED on the motor head:
- Red light solid: The opener has power but is not connected to the door, usually because the emergency release has been pulled.
- Red light blinking twice: The door was obstructed, or the opener is reading an obstruction signal from the force sensor.
- Red light blinking three times: The safety reverse system (the sensor circuit) detected a problem.
- Red light blinking four times: The travel limits are not set correctly, or the opener lost its limit settings, which happens after power surges.
Every opener owner’s manual has the complete code table for that specific model. If you’ve lost the manual, Chamberlain, LiftMaster, and Genie all keep PDFs online searchable by model number, which is printed on the motor housing. The code is the starting point. It tells you which system to inspect first. It does not, however, tell you whether the sensor itself is bad or whether the wiring between the sensor and the motor is faulty, which is where experience and a proper diagnostic process come in. If you’ve read the code and verified the obvious fix (alignment, obstruction, reconnect power) and the code persists, the problem is upstream from the code itself.
We stock diagnostic-compatible replacement parts for Chamberlain, LiftMaster, and Genie systems, plus the door-side hardware from Amarr, Clopay, Wayne Dalton, Craftsman, and Raynor. That brand coverage means when we arrive at a Roseville home, we’re working with familiar equipment, not reading the manual for the first time on your driveway.
The 30-Second Manual Disconnect Test
This is the single most useful diagnostic step in this entire guide. It separates door problems from opener problems in half a minute, and it requires no tools and no disassembly. Every garage door opener has an emergency release cord hanging from the trolley, usually red. Pulling that cord disconnects the opener’s drive system from the door itself, letting the door move freely on its own tracks.
Here’s the test:
- Close the door fully first. If the door is stuck open, skip to step 2 and be very careful: a door with a broken spring can drop fast once the opener is disconnected.
- Pull the emergency release cord. You’ll hear a click as the trolley disengages from the door.
- Lift the door by hand using the bottom handle or the bottom edge. Lift to about waist height and let go.
Now interpret the result:
- The door lifts smoothly with moderate effort and stays put at waist height: Your door hardware, tracks, rollers, and springs are in good shape. The problem is in the opener. Start with the error codes and the electrical checks from earlier in this guide.
- The door is hard to lift, or once lifted, it wants to fall: Your springs are worn out or broken. This is a door-mechanics problem, not an opener problem. Stop troubleshooting and call a professional. Torsion springs are under extreme tension and are genuinely dangerous to work on.
- The door lifts to a certain point and then binds or scrapes: You have a track or roller problem, likely isolated to one side. See the “Loud on One Side” section above.
- The door will not lift at all: The door may be locked, a roller may have jumped the track, or a cable has come off the drum. Stop and call a professional.
- A spring is visibly broken. You see a gap in the torsion spring coil above the closed door, or a dangling extension spring along the track. Do not attempt to operate the door. Do not try to remove or replace the spring yourself. Torsion spring replacement requires specialized winding bars and experience. The injuries from an improperly wound spring are severe and permanent.
- A cable has come off the drum or is frayed. The cables work in tandem with the springs. If one is off its drum, the door’s balance is compromised and continued operation can pull the door off its tracks entirely.
- The door is off its tracks or a roller has jumped out. Operating the door in this condition can bend the track further, damage the panels, or cause the entire door to fall.
- The door falls or slams when the opener disengages. This means the spring system has failed completely and nothing is counterbalancing the door’s weight.
- You smell burning from the opener motor. That’s an internal component failure. Unplug the opener and leave it unplugged.
After the test, re-engage the opener by pressing the wall button. On most modern openers, the trolley automatically reconnects when the opener runs a full cycle. On older units, you may need to manually guide the trolley forward until it latches onto the door’s release mechanism.
We run this exact test as the first step on almost every service call in Roseville. It takes less than a minute and it immediately narrows the problem to either the door or the opener, which means we bring the right parts and the right plan to every visit. If you run the test and the result points to the door, call garage door repair in Roseville. If it points to the opener, call garage door opener repair in Roseville. Either way, you’re describing a symptom you’ve already isolated, which makes the phone call shorter and the service visit faster.
Stop-Here Conditions: When Troubleshooting Becomes Dangerous
Garage door systems combine heavy weight with stored mechanical energy. A standard two-car garage door weighs between 250 and 400 pounds. The torsion springs that counterbalance that weight are wound under tremendous tension. When a spring breaks while under load, the release of that energy can be violent. And when a door falls because a cable snaps or a spring lets go, what’s underneath it does not win.
These are the conditions where you should stop troubleshooting immediately and call a professional:
We want Roseville homeowners to be informed, not endangered. If you hit any of these conditions, the correct next step is to leave the door where it is, keep the opener unplugged, and call a technician. Wright Garage Door Repair services Clopay, Amarr, Wayne Dalton, Craftsman, and Raynor door systems, and we carry the springs, cables, and replacement hardware to address these failures correctly. The job gets done right the first time, priced upfront, with work you can see was done properly.
Common Mistakes to Avoid
- Replacing the opener when the springs are the problem. This is the most expensive mistake we see. A door with worn springs overworks the opener until the opener burns out. Homeowners then replace the opener, but the new opener still has to fight the same heavy door, and the cycle repeats. If your old opener failed, check the door balance before installing a new one.
- Adjusting travel limits to compensate for a failing component. Shortening the travel so the door stops before it hits the ground might quiet a noisy roller for now, but the roller is still failing and the track wear is still happening. You’ve treated a symptom, not the cause.
- Lubricating everything. The garage door does not need oil on every moving part. Grease on the tracks attracts dirt and creates the grinding sound you were trying to eliminate. Silicone on roller bearings is the only lubrication most doors need, plus light lubricant on the torsion spring’s contact points.
- Ignoring a symptom because the door still works. That slight scraping sound on one side is a roller wearing out. The sooner you replace it, the less damage to the track. Small failures become expensive failures when ignored.
- Attempting a spring repair from a YouTube video. The internet makes everything look easier than it is. Torsion springs carry enough stored energy to cause life-altering injuries. This is not a learning-by-doing project.
- Buying the cheapest replacement opener without checking compatibility. Not every opener works with every door weight and height. A light-duty opener paired with a heavy wood door will fail early. Check the door’s weight and compare it against the opener’s rating before you buy.
- Skipping the manual disconnect test and guessing. Thirty seconds of testing saves you from buying a sensor when the spring is broken, or buying an opener when the sensors are dirty. Test first, buy second.
See the difference
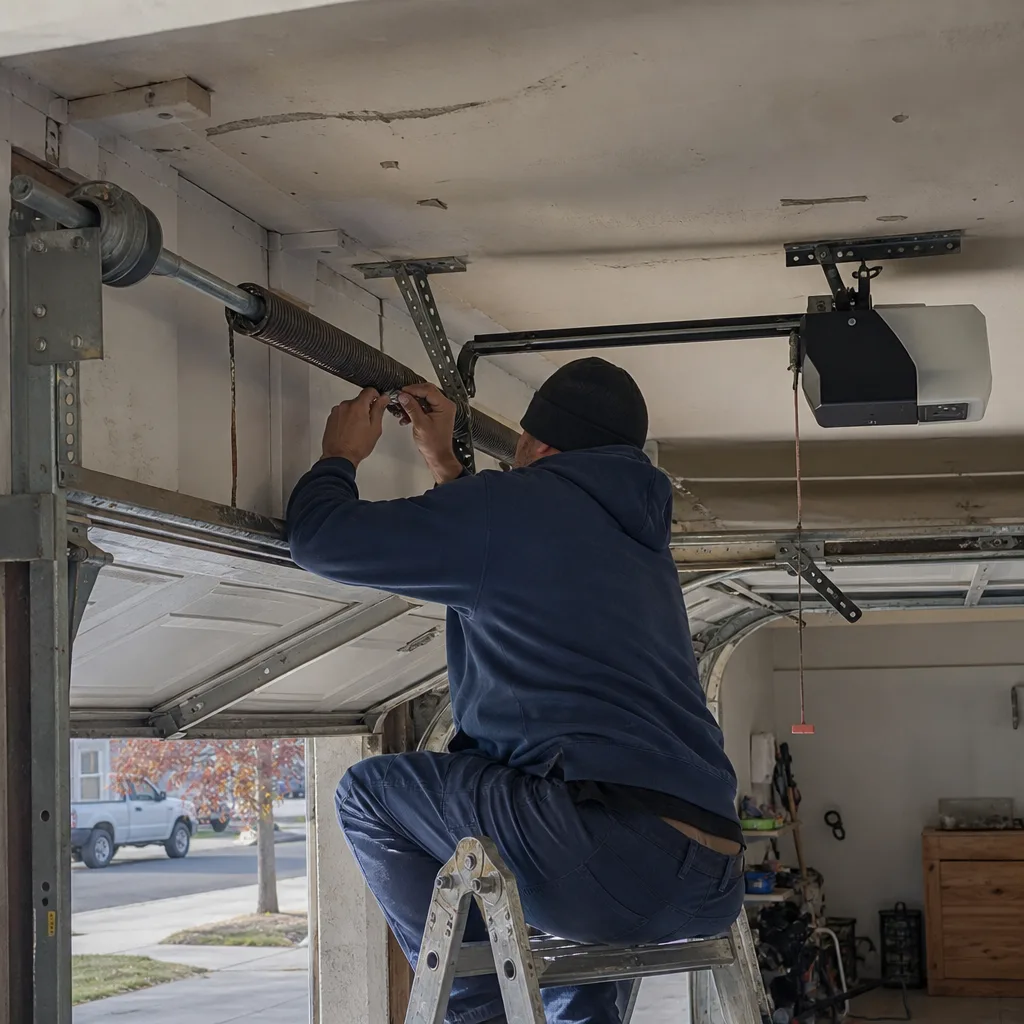 Before
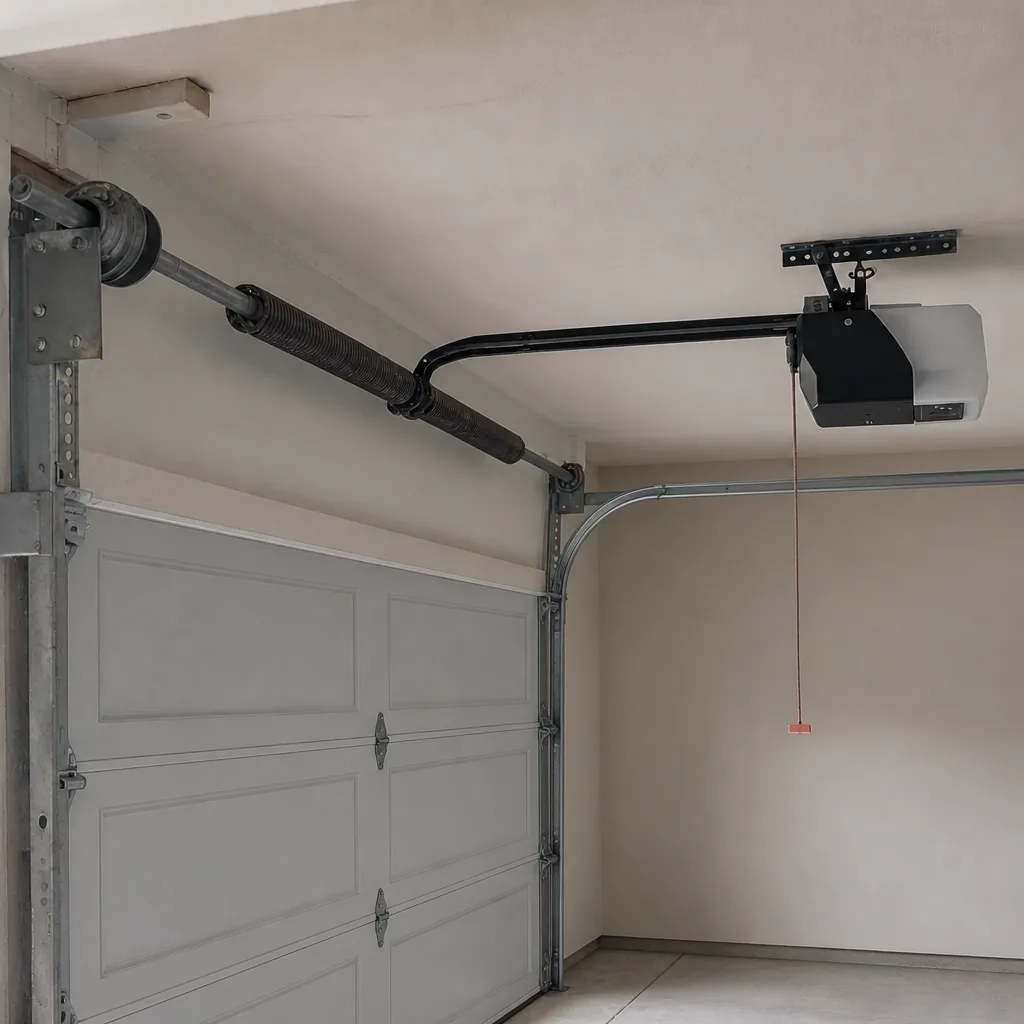 After
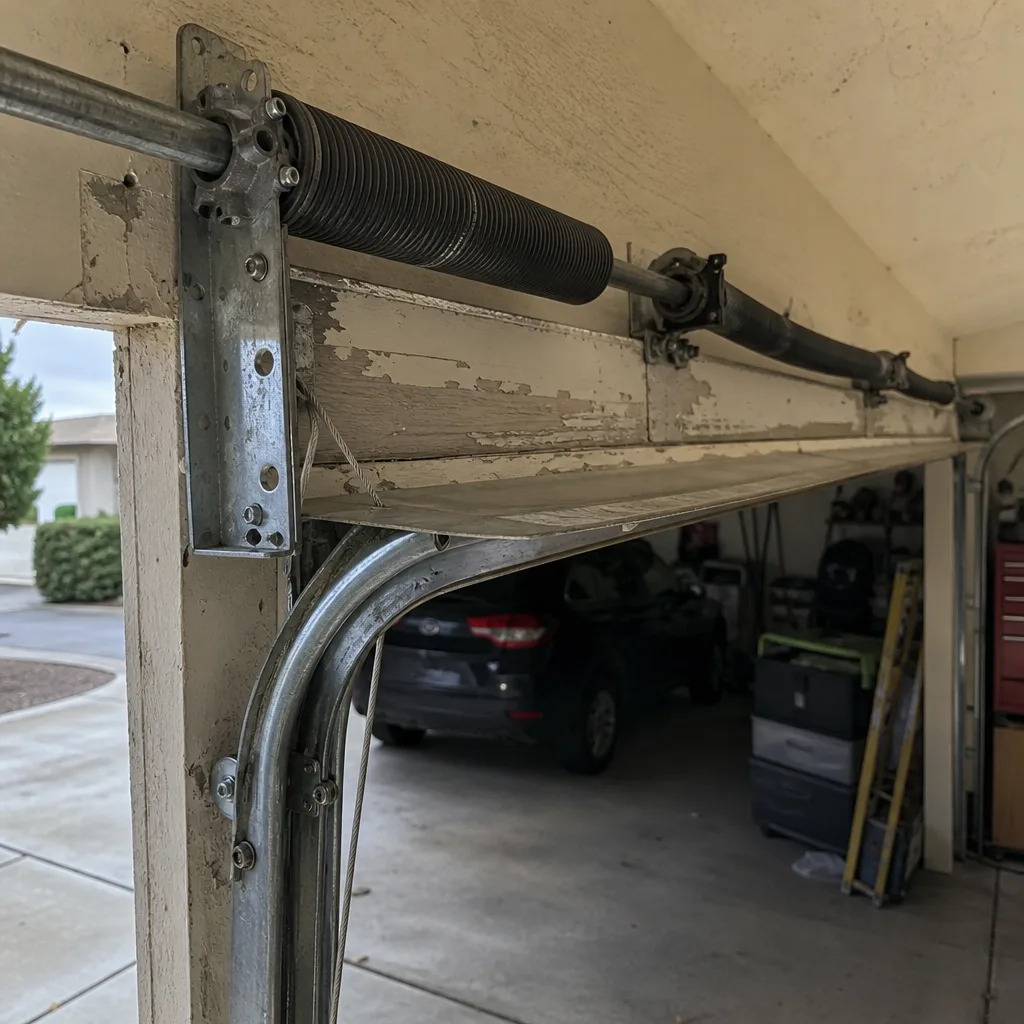 Before
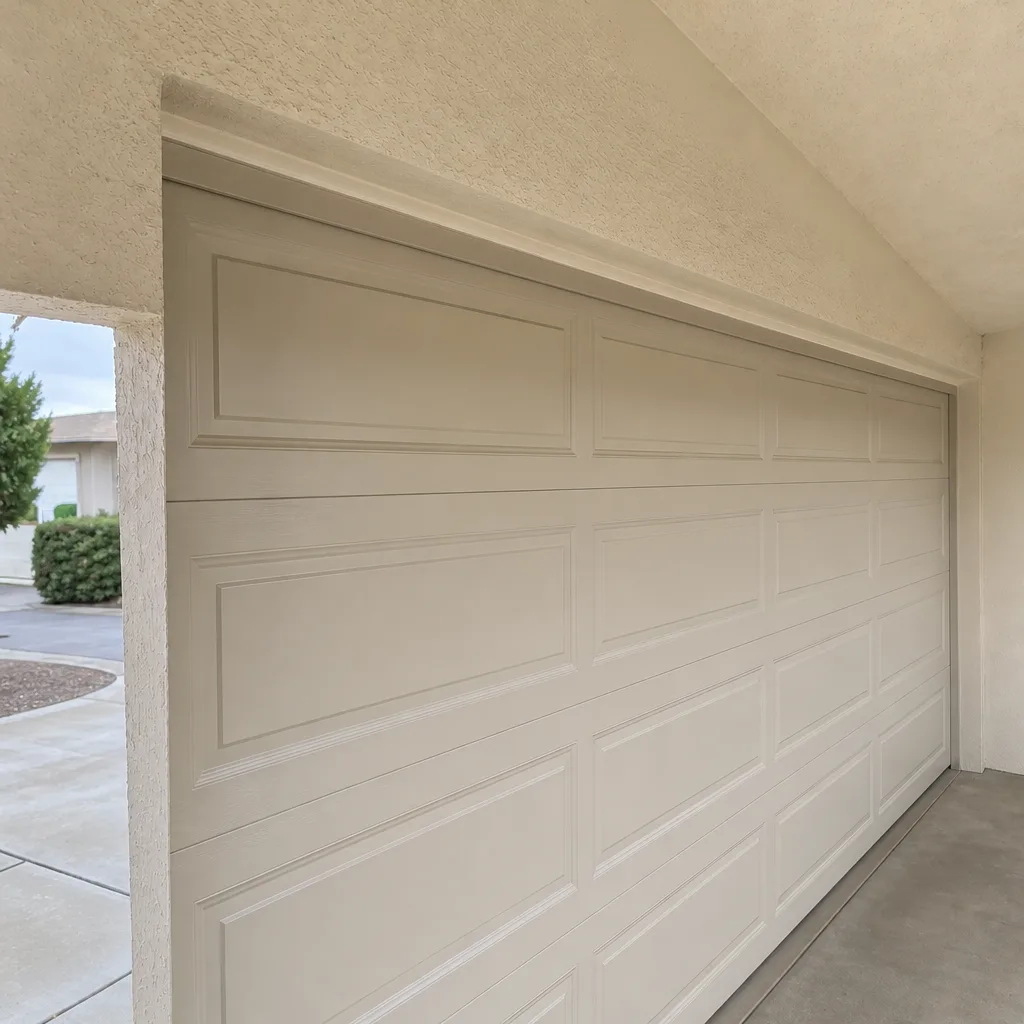 After
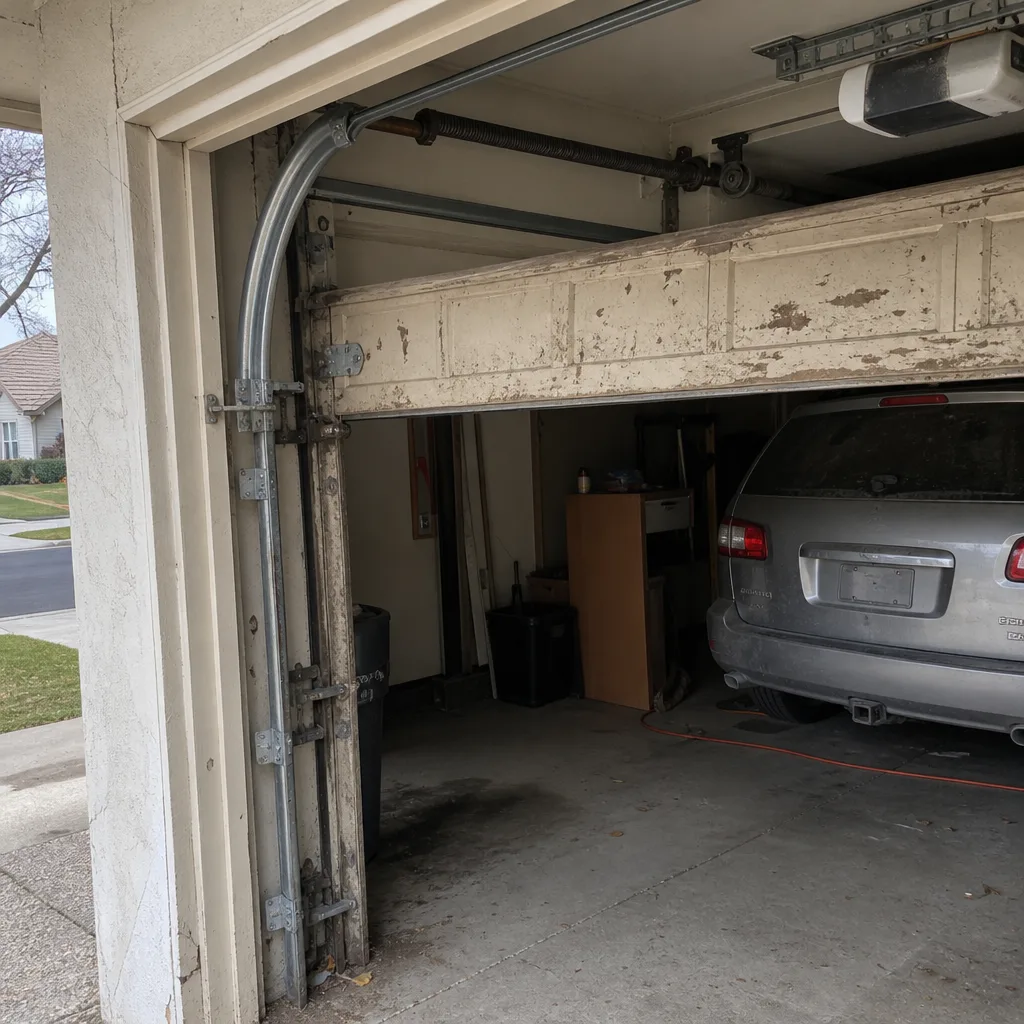 Before
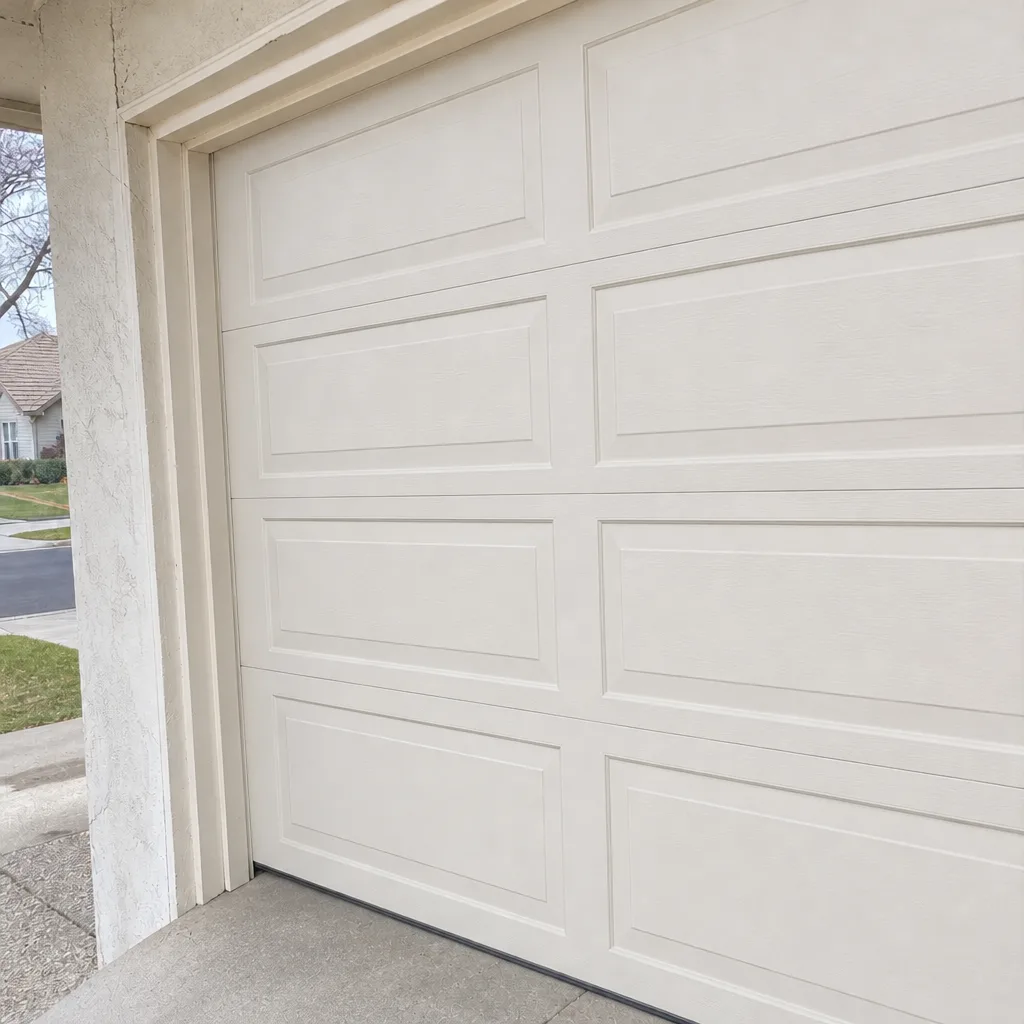 After
When to Call a Professional
Some things you can fix in five minutes: realigning sensors, replacing a remote battery, re-engaging the trolley after a power outage. Some things you should not touch: springs, cables, anything requiring you to climb a ladder with tools, anything where the door is off its tracks. If your troubleshooting points to a spring, a cable, a drive-gear failure, or a logic board, stop there. The cost of a professional repair is lower than the cost of an amateur mistake, and the risk profile is completely different. Wright Garage Door Repair offers free estimates in Roseville – call (855) 362-1465 and describe what you’re seeing. We’ll give you an honest assessment over the phone and a fixed price before any work begins.
Frequently Asked Questions
In Roseville, minor repairs like sensor realignment or remote replacement typically run $75 to $150, roller or hinge replacement runs $150 to $300, and spring replacement typically runs $250 to $450. Opener replacement and door installation are quoted per job based on the door’s weight, size, and the features of the new opener. Call (855) 362-1465 for an exact quote on your specific system – estimates are free and the price is agreed before any work starts.
Yes. Wright Garage Door Repair schedules same-day service for most repairs in Roseville when the call comes in before early afternoon. The fastest path is to call (855) 362-1465 and describe the symptom – from there we’ll confirm a time window that same day or first thing the next morning, depending on when you call.
No. The price we quote is the price you pay. We ask about your door’s brand, age, and the specific symptom during the phone call specifically so the quote we give you is accurate. If a new issue is discovered during the repair, we stop, show you what we found, and get your approval on the additional cost before proceeding. Nothing gets added to your invoice that you didn’t approve first.
For most common failures, yes. We stock springs in the common residential sizes, roller sets, hinges, cables, and the high-failure parts for Chamberlain, LiftMaster, and Genie openers. Doors from Clopay, Amarr, Wayne Dalton, Craftsman, and Raynor use standardized hardware that we carry in regular rotation. Unusual or oversized spring configurations sometimes require a supply-house run, which we’ll tell you about upfront.
Intermittent failures almost always point to sensor alignment, sensor wiring, or the opener’s logic board. Springs and cables don’t fail intermittently – they fail permanently. Note when the failure happens (time of day, temperature, which button you pressed) and tell us during the call. The pattern is often enough to identify the cause before we even arrive.
It depends on the noise. A squealing roller is an annoyance and a warning – the door will still work, but the roller needs replacement. A grinding sound from the opener means the drive gear is stripping and will get worse the more you use it. A sharp bang or popping sound from above the closed door means a spring has broken – stop using the door immediately and call (855) 362-1465.
The Bottom Line
Symptom-first troubleshooting works because symptoms are consistent. A clicking remote with a motionless opener is an electrical problem. A humming motor with a motionless door is a spring problem. A door that reverses on the way down is a sensor problem. A door that’s loud on one side only is a roller or track problem. A door that fails intermittently is a sensor or logic board problem. Run the manual disconnect test, read the error code, and you’ll know which system has failed without guessing. If the problem is in the springs, cables, or any part of the system under tension, make the call instead of making the repair. Wright Garage Door Repair is the multi-brand specialist serving Roseville with the ability to fix both the door and the opener in one visit. Call (855) 362-1465 for a free estimate.
Written by the team at Wright Garage Door Repair, serving Roseville since 2017.